Sunny-D.com
The Order: 1886
My first professional job transitioning from Environment Art to Level Design was at Ready at Dawn studios working on The Order: 1886.
During my 22 months at the studio, my main responsibility was the design of the Blackwall Yards mission. The purpose of the mission was to form an unlikely alliance with an old adversary through a series of gameplay sequences designed to build trust. This involed team work in puzzle solving, providing covering fire in scripted sequences, and general partner AI combat sequences.
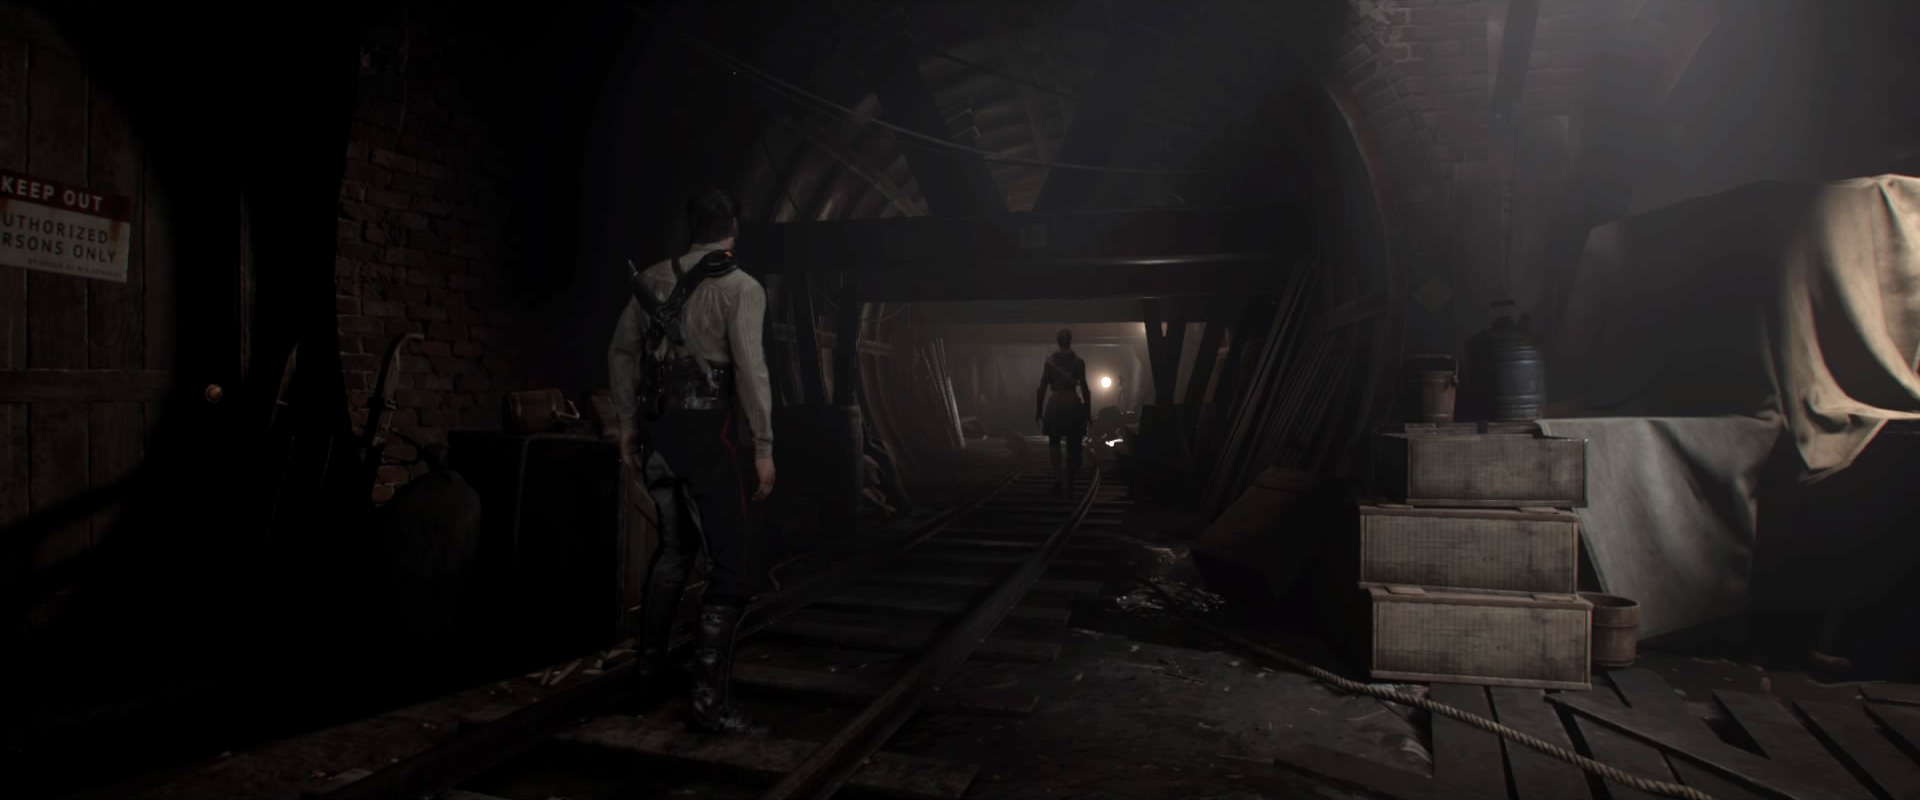
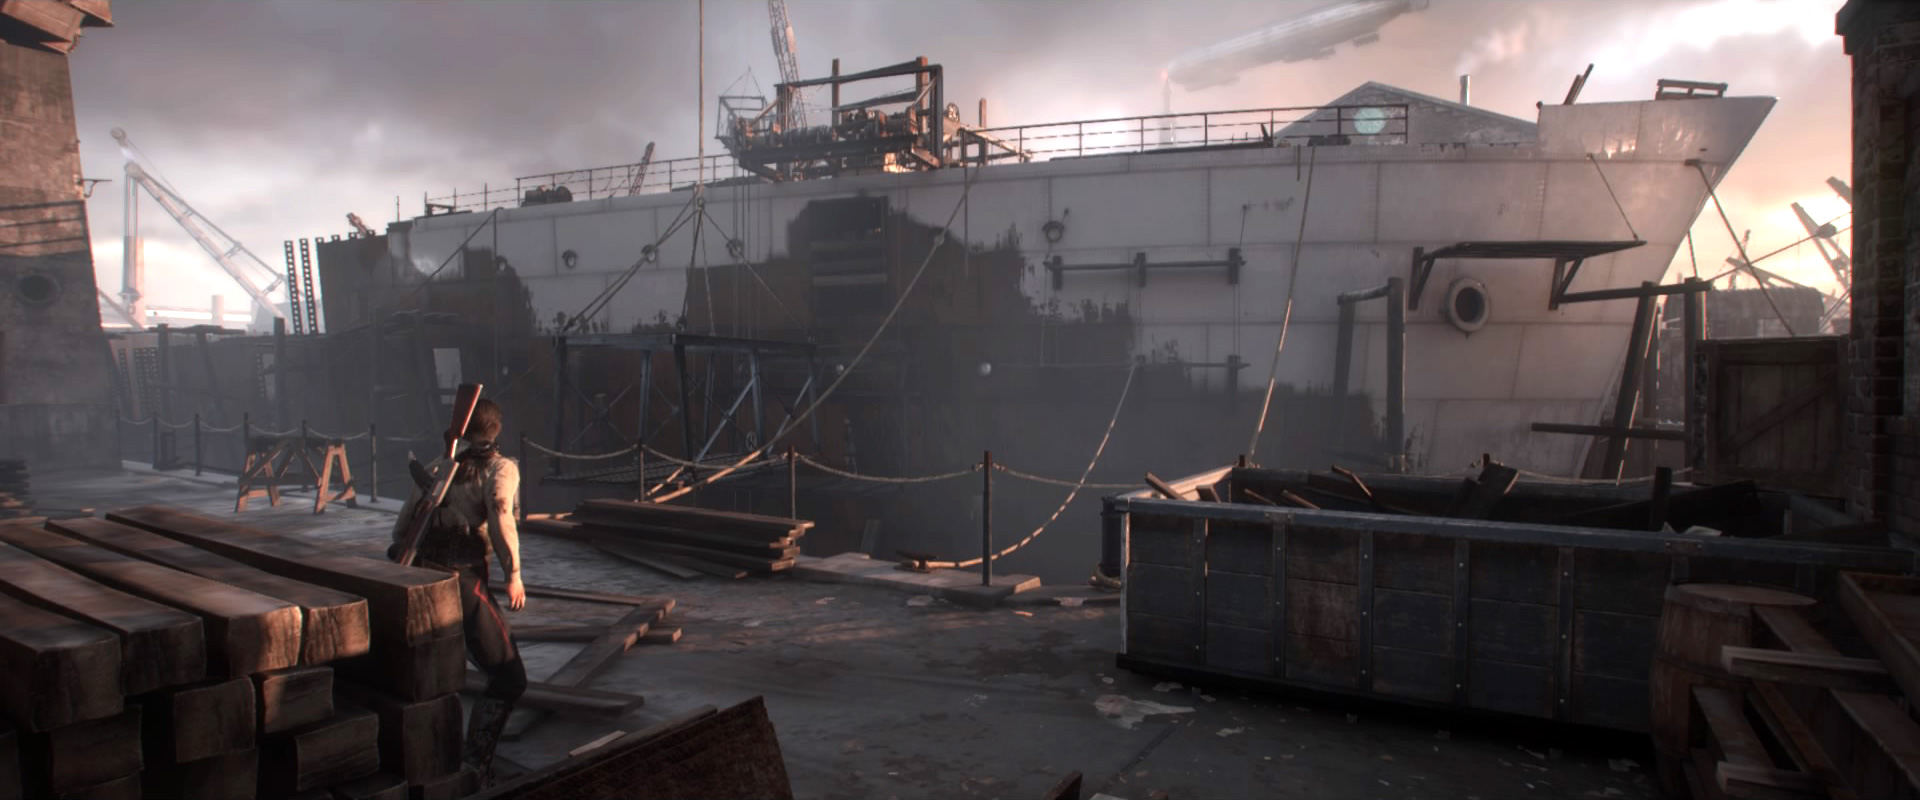
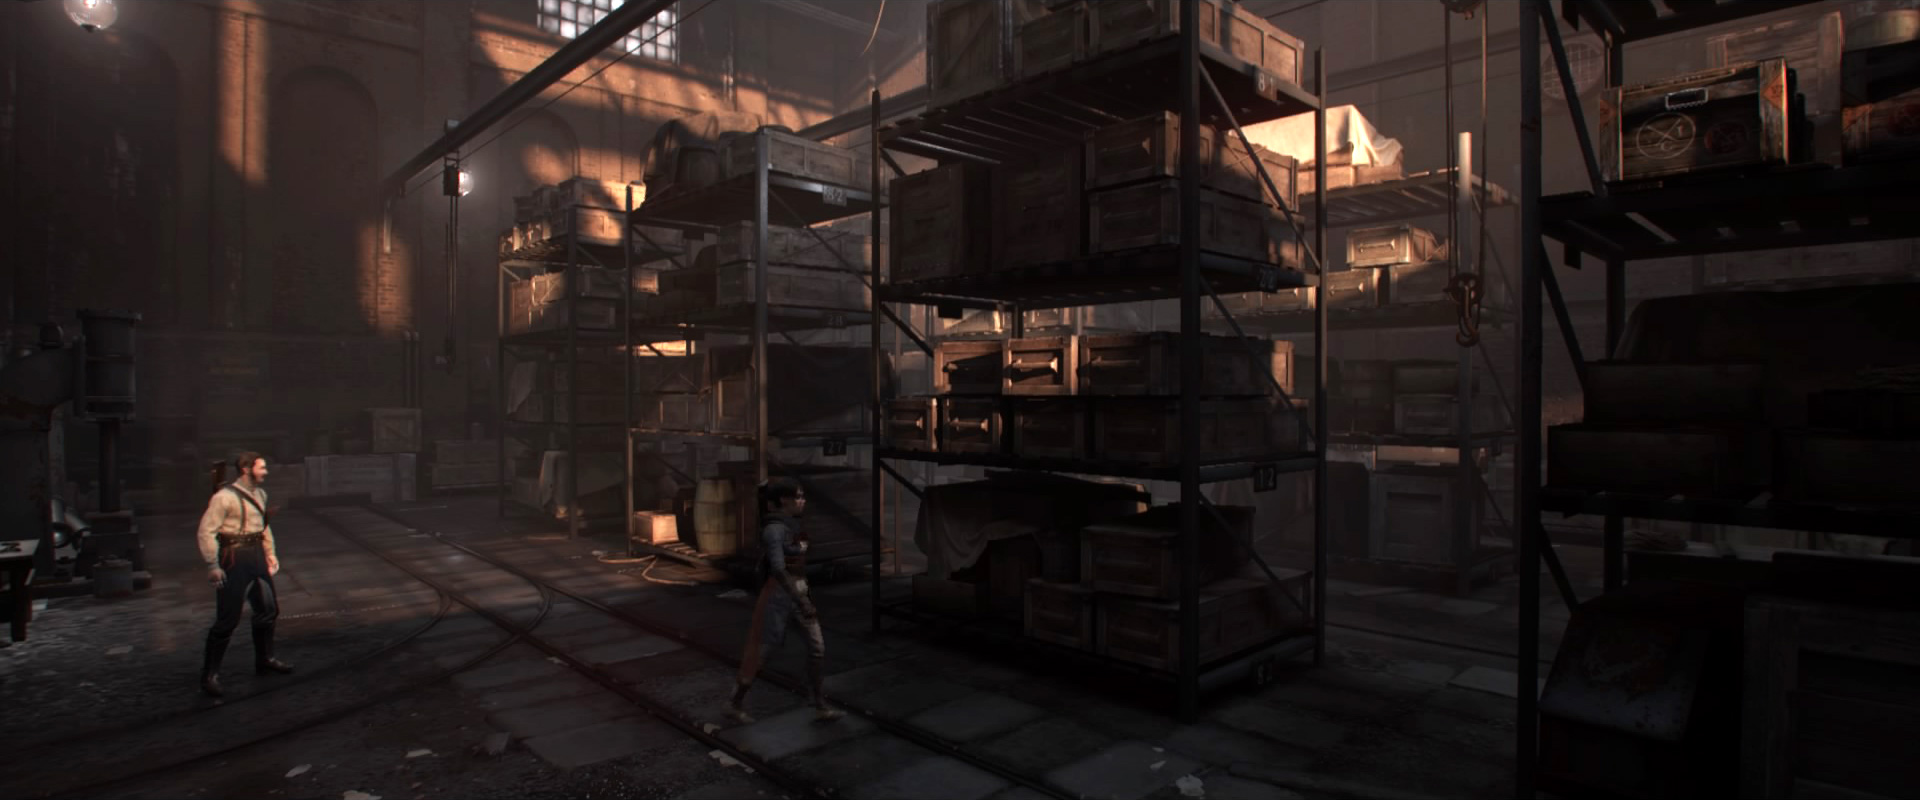
In Blackwall Yards, the player travels through a number of locations: train tunnels under construction, an industrial factory area, a dry dock, and a large warehouse. I spent a lot of time gathering period specific photo reference and laying out blockmesh that stayed true to the source both in style and scale.
The following images are screenshots taken from the in-game photo mode.


Blackwall Yards Art Team: 3D Modelers: Edgar Martinez, Nestor Carpintero. Texture Artist: Bobby Rice. Lighting Artist: Neil Davies.